Usage
Introduction
To use the main blade template provided by this package, just create a new blade file and extend the provided AdminLTE layout with @extends('adminlte::page'). The blade template yields some sections that are classified into two groups:
main: Yielded sections that are commonly used when extending the layout.misc: Yielded sections that are useful for covering uncommon cases or particular situations.
| Section | Type | Description |
|---|---|---|
title | main | To fill the content of the <title> tag, to define the title of the document that is shown in the browser page's tab |
content_header | main | To fill the header element of the page (will be placed above the main content) |
content | main | To fill all of the main content of the page |
content_top_area | misc | To fill the div.app-content-top-area element of AdminLTE v4 (the first band of the content area, placed above the content header, matching the reference layout). Useful for a filter bar or a set of statistic widgets that should span the full content width |
content_bottom_area | misc | To fill the div.app-content-bottom-area element of AdminLTE v4 (placed below the main content and above the footer) |
footer | main | To fill the content of the footer section |
right_sidebar | main | To fill the content of the right sidebar. On AdminLTE v4 the right sidebar is a Bootstrap offcanvas panel (the v3 control sidebar does not exist anymore) |
css | main | To add extra style sheets (inside the <head> tag) |
js | main | To add extra scripts or javascript code (just before the closing </body> tag) |
adminlte_css_pre | misc | To add custom style sheets before the style sheets required by AdminLTE |
content_top_nav_left | misc | To add custom elements in the left section of the top navbar. |
content_top_nav_right | misc | To add custom elements in the right section of the top navbar. |
meta_tags | misc | To add extra meta tags inside the <head> tag |
preloader | misc | To allow the replacement of the preloader animation default content. Requires the preloader animation to be enabled by configuration |
usermenu_header | misc | To allow the replacement of the header in the usermenu dropdown by a custom version. Requires an authentication scaffolding and the usermenu enabled by configuration |
usermenu_body | misc | To add a custom body element into the usermenu dropdown. Requires an authentication scaffolding and the usermenu enabled by configuration |
IMPORTANT
Compared to the 3.x releases, note the right_sidebar section is spelled with an underscore. The old right-sidebar (hyphenated) name is not recognized.
All the previously described sections are optional. As a basic example, your most common blade file extending the provided template could look like the following one. Create it anywhere inside the resources/views folder of your project, the name of the file is up to you:
{{-- resources/views/dashboard.blade.php --}}

@extends('adminlte::page')

@section('title', 'Dashboard')

@section('content_header')
    <h1>Dashboard</h1>
@stop

@section('content')
    <p>Welcome to this beautiful admin panel.</p>
@stop

@section('css')
    {{-- Add here extra stylesheets --}}
    {{-- <link rel="stylesheet" href="/css/admin_custom.css"> --}}
@stop

@section('js')
    <script> console.log("Hi, I'm using the Laravel-AdminLTE package!"); </script>
@stop
TIP
On a fresh Laravel installation, and after installing this package, you can replace the resources/views/welcome.blade.php file with the previous code for a fast template review.
Now, and as usual, you just return this view from a route or a controller, for example on the routes/web.php file of your project:
Route::get('/dashboard', function () {
    return view('dashboard');
});
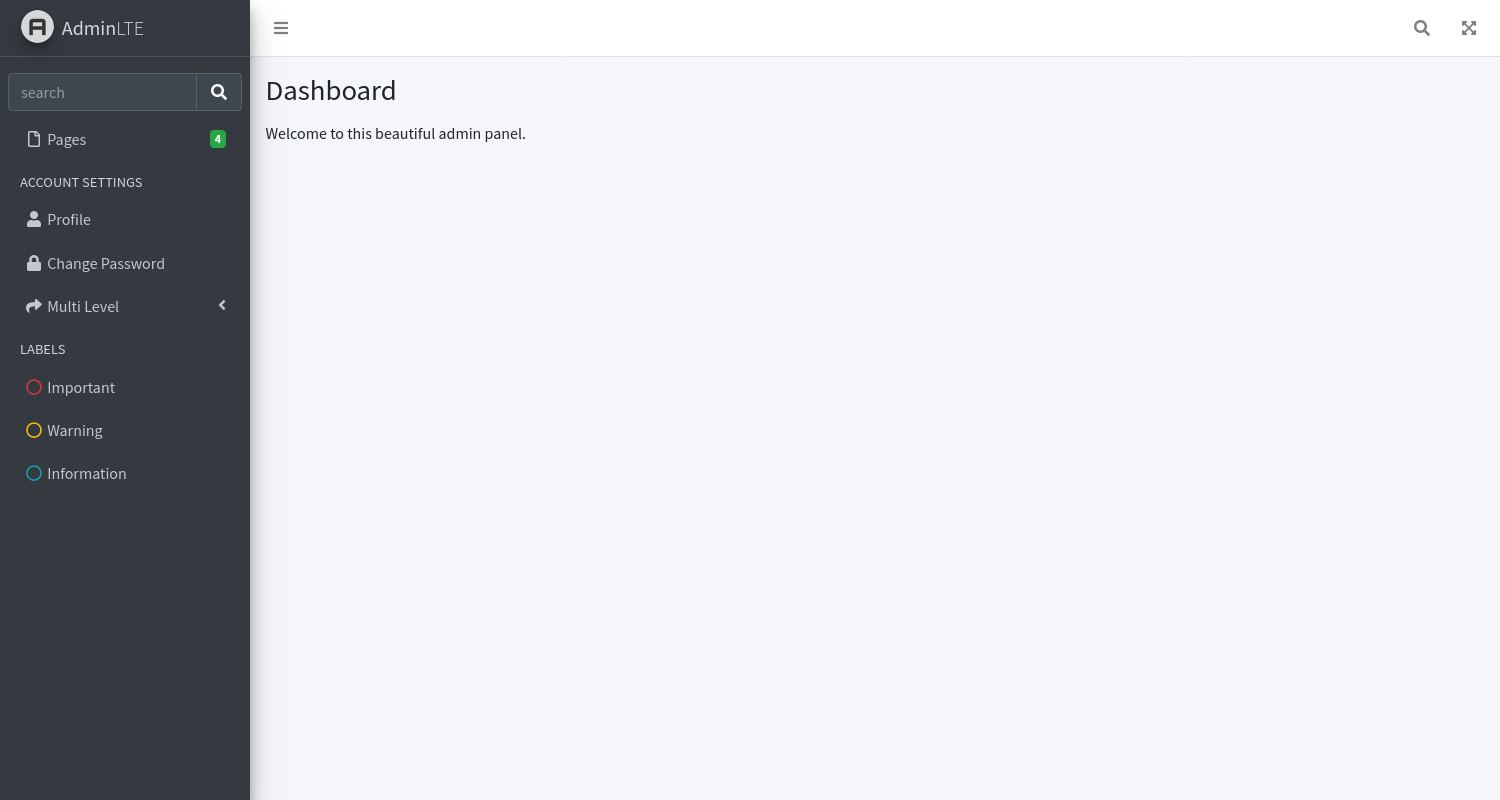
It's a recommendation to check out the AdminLTE v4 demo and the Bootstrap 5.3 documentation to find out how to build beautiful content for your admin panel. As a preview, the next image shows what you can get with the previous blade file definition:
NOTE
The screenshot below was taken from an older package version, the layout markup was rebuilt for AdminLTE v4.
More over, this package also provides defaults template views for login and register pages, which can be used with @extends('adminlte::auth.login') and @extends('adminlte::auth.register'). Read the Authentication Views documentation for more details.
Tabbed IFrame Mode
IMPORTANT
Since AdminLTE v4 removed the IFrame plugin, the mode is now implemented by the package itself with a jQuery free helper.
The IFrame mode provides the functionality to open the sidebar and top navbar links in a tabbed iframe view. To use the IFrame mode, you should define your main/welcome/root view as just:
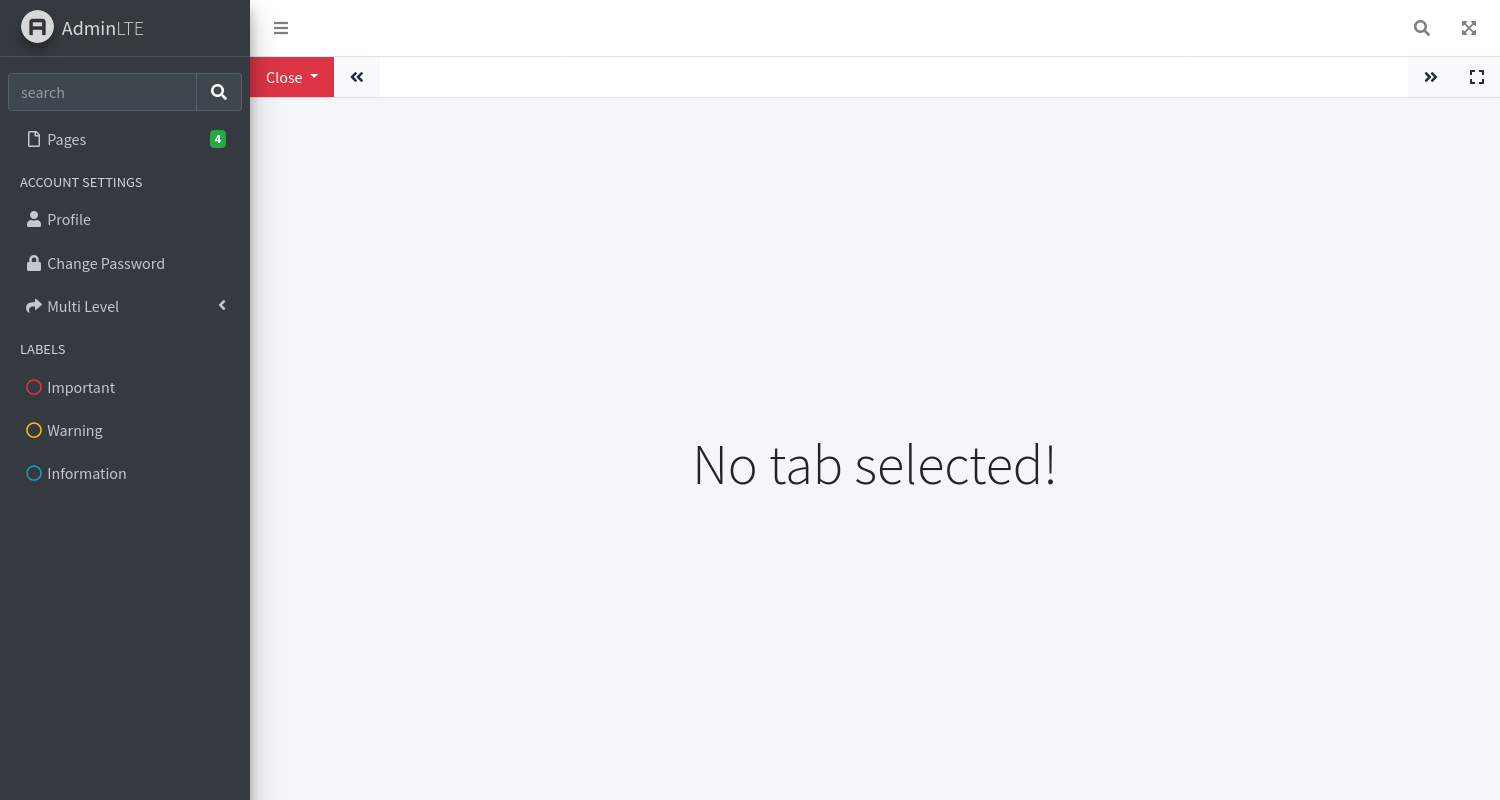
@extends('adminlte::page', ['iFrameEnabled' => true])The documentation of the configuration options available for this mode can be found on IFrame Mode Configuration. Please, note that all the other blade views of your application should be defined as explained before with the @extends('adminlte::page') sentence and just the main entry view should be defined as explained before. Take next image as an example of what you will get:
TIP
The previous image was obtained from a fresh Laravel installation (after installing this package), by just replacing the resources/views/welcome.blade.php file with @extends('adminlte::page', ['iFrameEnabled' => true]).
Recommended Way of Use
Normally, you will likely be extending the provided AdminLTE blade layout multiple times in order to create multiple views in your Laravel application, and this may lead to duplication of common sections and logic between those views. So, instead, it's recommended to create a new layout for your entire application and put all the common sections and logic there, for example:
resources/views/layouts/app.blade.php
@extends('adminlte::page')

{{-- Extend and customize the browser title --}}

@section('title')
    {{ config('adminlte.title') }}
    @hasSection('subtitle') | @yield('subtitle') @endif
@stop

{{-- Extend and customize the page content header --}}

@section('content_header')
    @hasSection('content_header_title')
        <h1 class="text-body-secondary">
            @yield('content_header_title')

            @hasSection('content_header_subtitle')
                <small class="text-body">
                    <i class="bi bi-chevron-right text-body-secondary"></i>
                    @yield('content_header_subtitle')
                </small>
            @endif
        </h1>
    @endif
@stop

{{-- Rename section content to content_body --}}

@section('content')
    @yield('content_body')
@stop

{{-- Create a common footer --}}

@section('footer')
    <div class="float-end">
        Version: {{ config('app.version', '1.0.0') }}
    </div>

    <strong>
        <a href="{{ config('app.company_url', '#') }}">
            {{ config('app.company_name', 'My company') }}
        </a>
    </strong>
@stop

{{-- Add common Javascript code (AdminLTE v4 does not load jQuery) --}}

@push('js')
<script>

    document.addEventListener('DOMContentLoaded', function () {
        // Add your common script logic here...
    });

</script>
@endpush

{{-- Add common CSS customizations --}}

@push('css')
<style type="text/css">

    {{-- You can add AdminLTE customizations here --}}
    /*
    .card-header {
        border-bottom: none;
    }
    .card-title {
        font-weight: 600;
    }
    */

</style>
@endpush
NOTE
The previous defined layout is just an example, but you may use it as a reference to create your own application layout.
Then use your new defined layout for your views, for example:
resources/views/welcome.blade.php
@extends('layouts.app')

{{-- Customize layout sections --}}

@section('subtitle', 'Welcome')
@section('content_header_title', 'Home')
@section('content_header_subtitle', 'Welcome')

{{-- Content body: main page content --}}

@section('content_body')
    <p>Welcome to this beautiful admin panel.</p>
@stop

{{-- Push extra CSS --}}

@push('css')
    {{-- Add here extra stylesheets --}}
    {{-- <link rel="stylesheet" href="/css/admin_custom.css"> --}}
@endpush

{{-- Push extra scripts --}}

@push('js')
    <script> console.log("Hi, I'm using the Laravel-AdminLTE package!"); </script>
@endpush
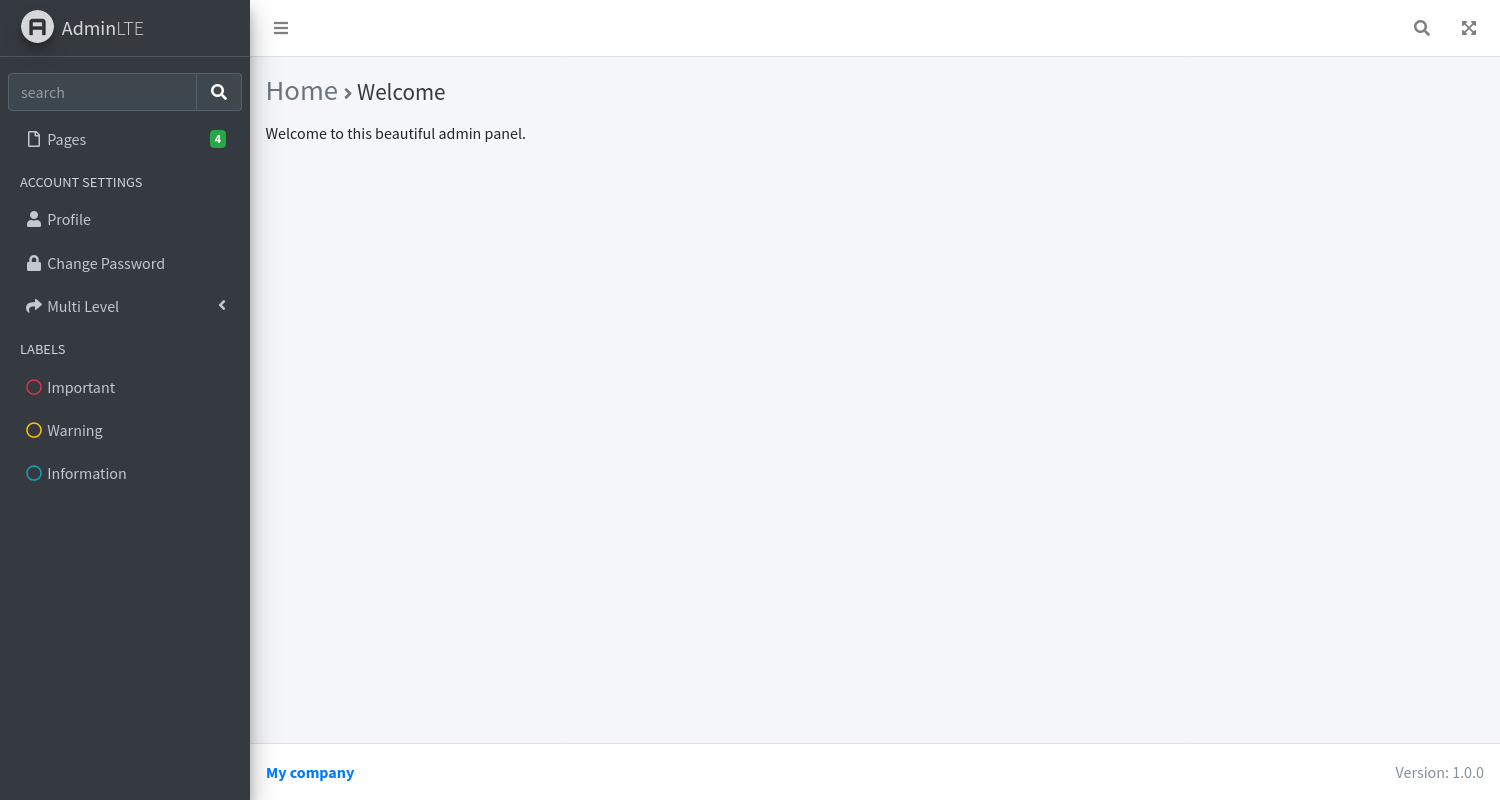
That will be rendered like next...
TIP
AdminLTE v4 does not bundle jQuery anymore and its own Javascript plugins are driven by data-lte-toggle="..." attributes. If your application still needs jQuery (for example, for the Select2 or the Datatables components), you have to load it on your own through the plugins configuration or your asset bundling setup.
Next Steps
At this point you have a page rendering inside the AdminLTE layout, but the panel still shows the example menu and the default branding. Continue with:
- Basic configuration, to set the title, the logo, the user menu and the urls of the panel.
- Menu configuration, to replace the example menu with your own links. If your menu depends on the database or on the authenticated user, build it from the
BuildingMenuevent instead. - Layout and styling, to choose the layout (sidebar or top navigation), the color mode and the extra classes of every layout element.
- Blade components, the ready made cards, widgets and form controls you place inside the
contentsection. - Views customization, only when the sections listed above are not enough and you need to edit the layout markup itself.